
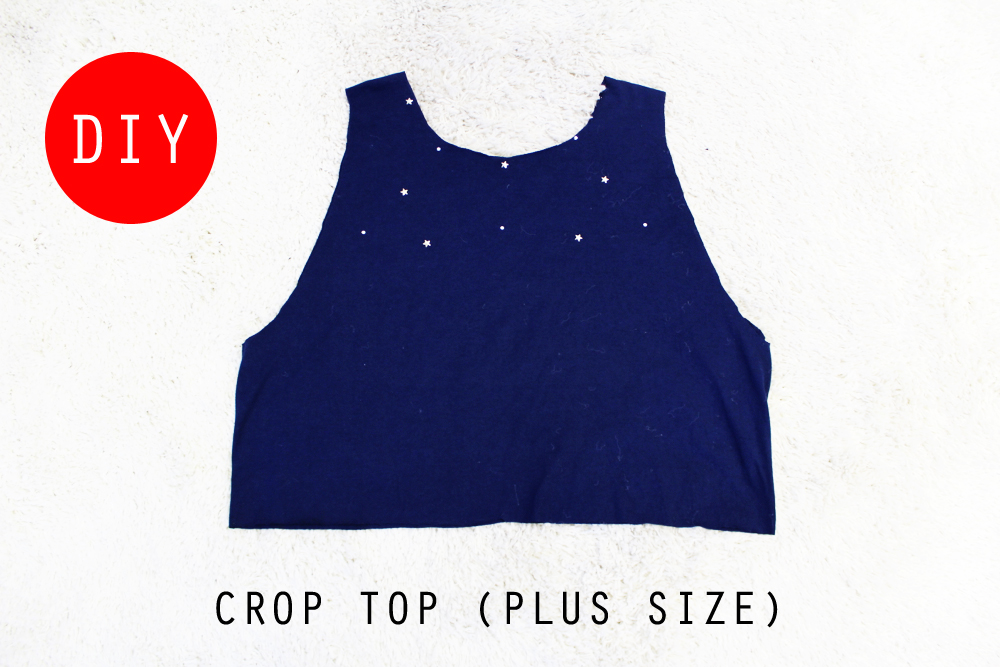
As I’m sure all of you are aware of — Crop Tops are big right now. Sometimes for plus size gals (or any size gals!) it is hard to find exactly what you want for yourself in retail stores. I came up with an EASY NO SEW DIY to make your very one, personalized CROP TOP! Simply follow the steps below.
Please note: All edges of crop top in this DIY will be unfinished and will have a “rolled” effect.
* * *
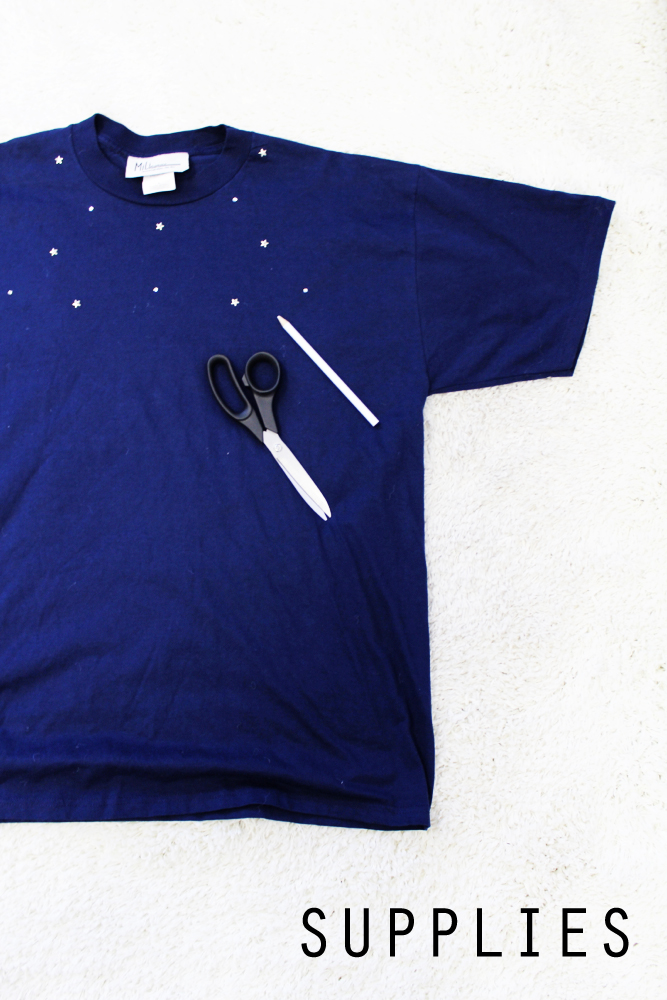
SUPPLIES:
- Knit T-Shirt
- Tailors Chalk (or Water Based Colored Pencil)
- Scissors
STEPS:
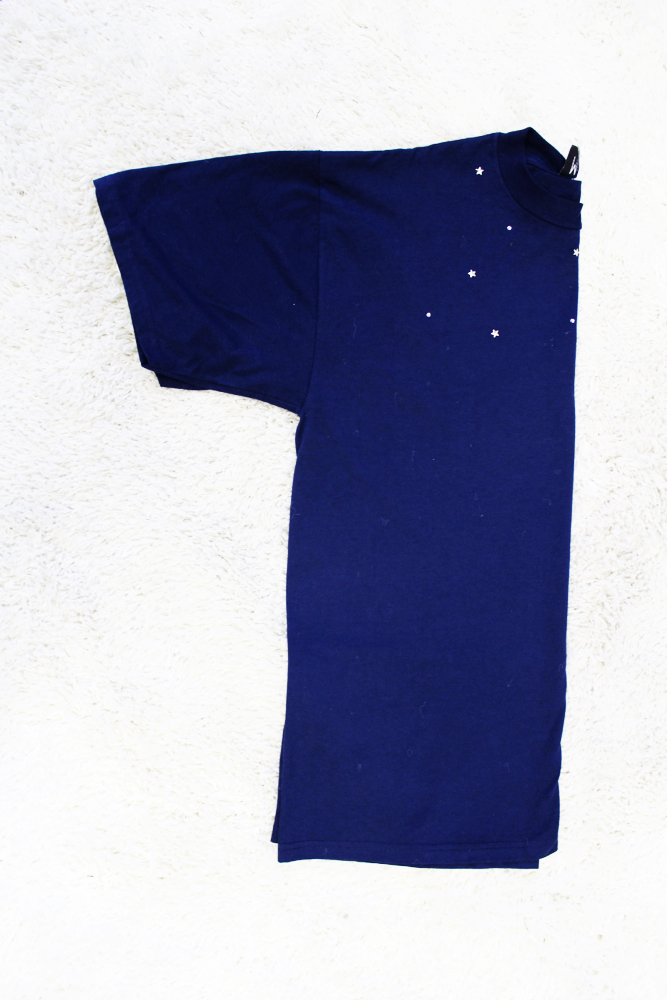
1. Fold T-Shirt in half. Align all edges equally (ie: Sleeve hems to sleeve hems, etc.).
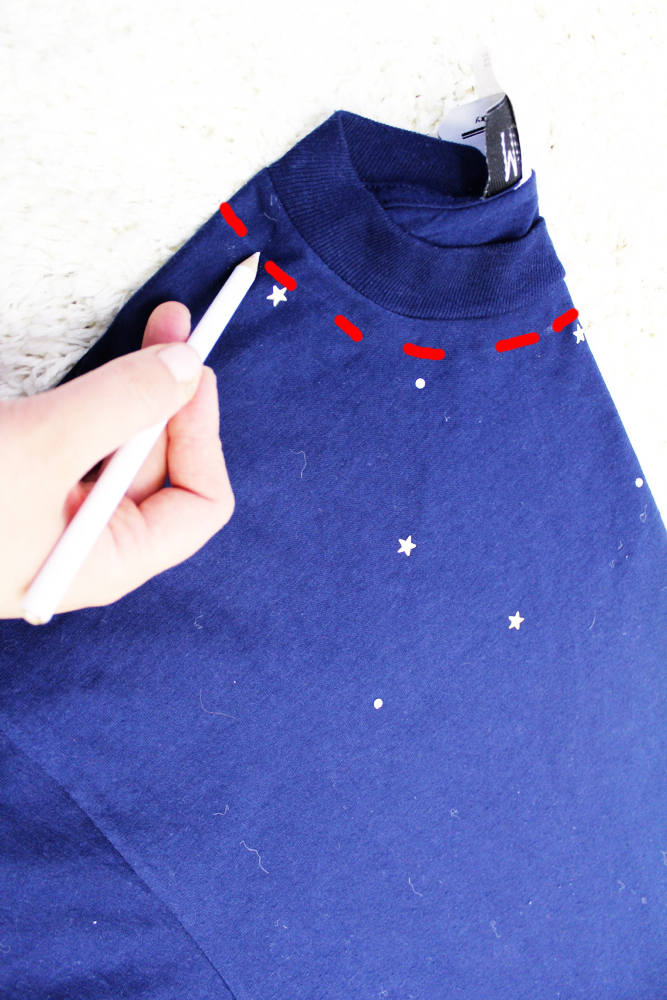
2. Start with the neckline. Using your Tailor’s Chalk, sketch out your new neckline by following the original neckline shape.
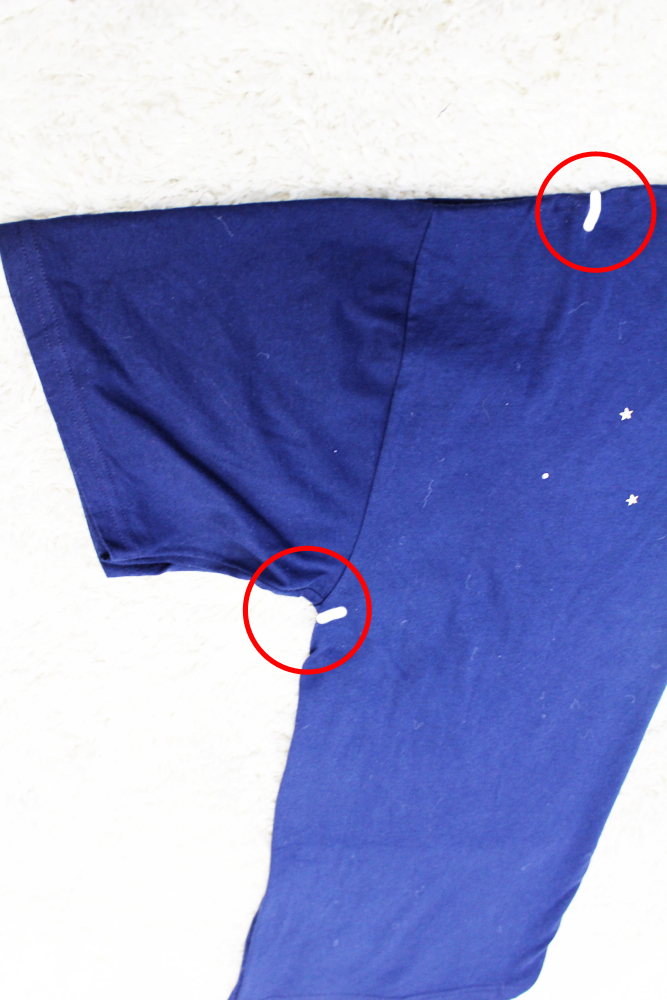
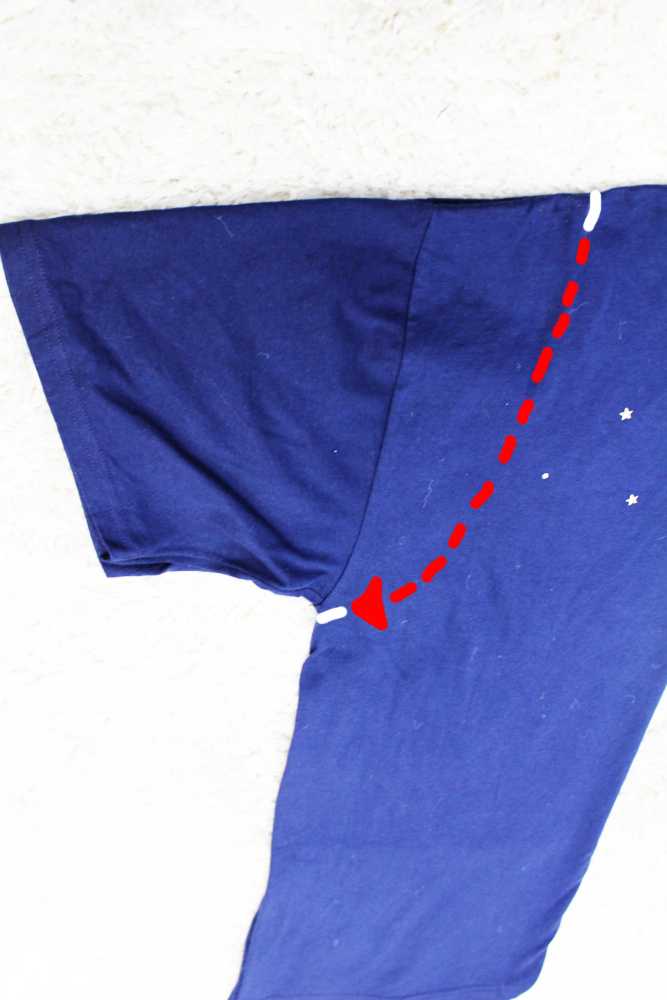
3. Next, work on your armhole/sleeve opening. Decide where you want your armhole to start on the shoulder seam, make a little guide mark at this point with your tailor’s chalk.
Then decide where you want your armhole to end on the side seam, make another little guide mark with your tailor’s chalk. You will end up with TWO guide marks.
4. Using the original armhole as a guide, sketch a similar shaped line connecting the two guide marks you made above.
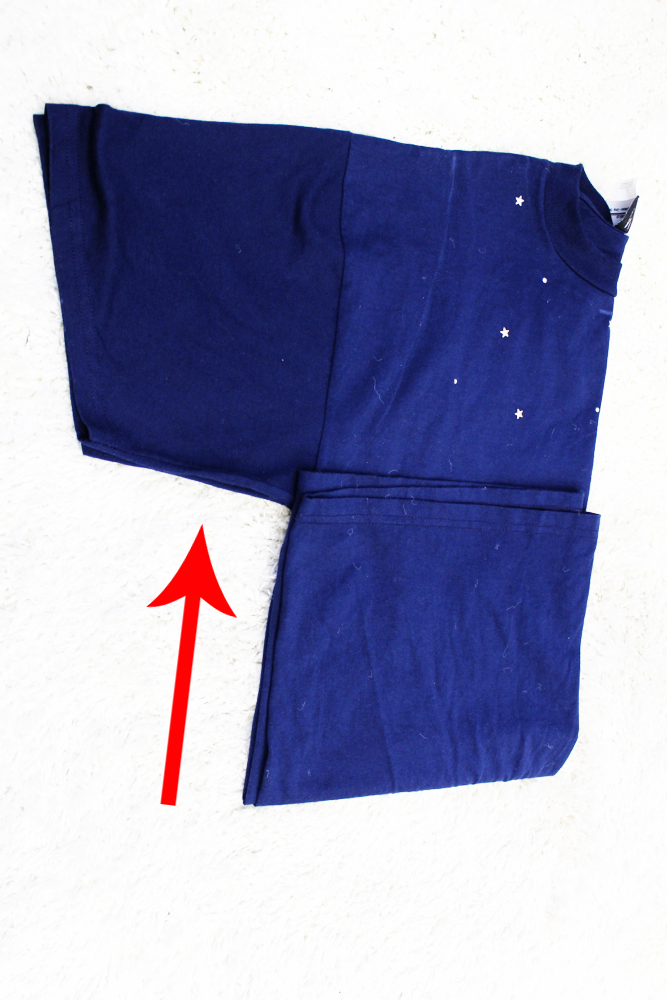
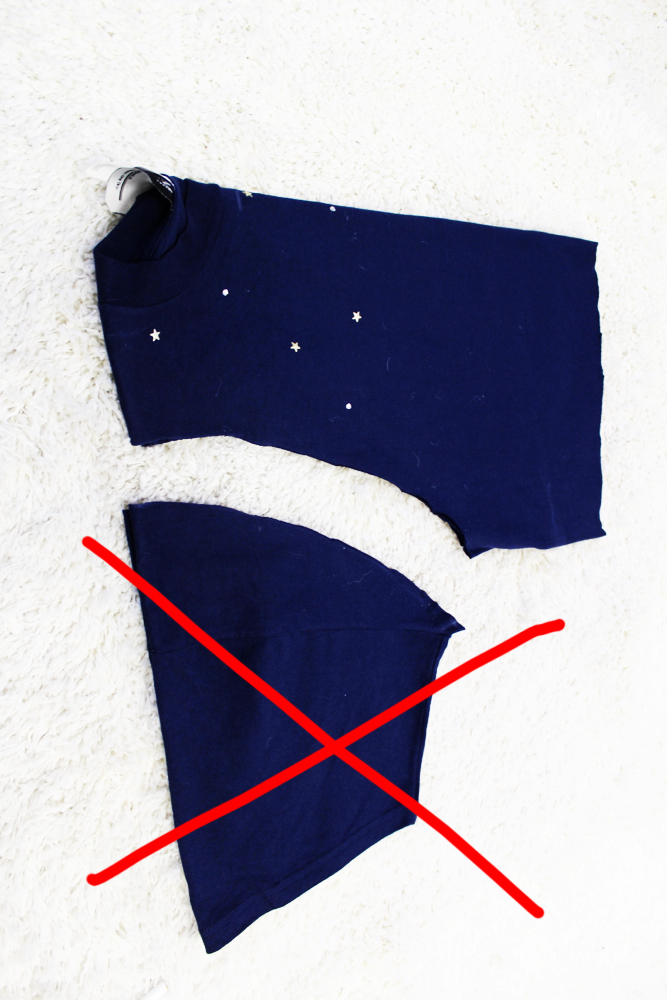
5. Now, work on your shirt hem. Fold the original shirt hem up to the bottom of the original armhole. This makes a natural guide for cutting a new shirt hem.
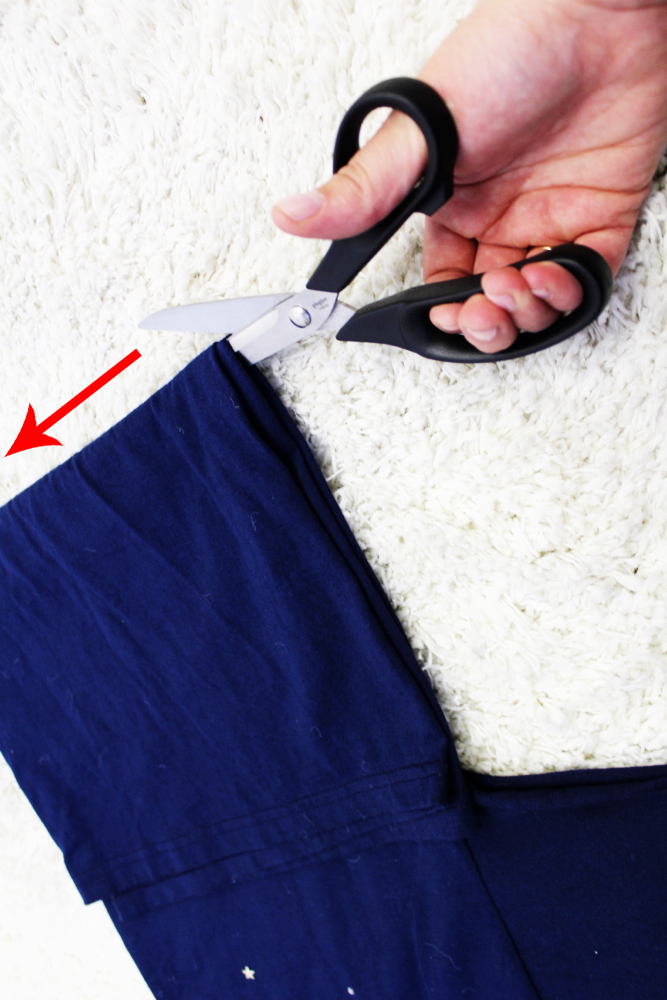
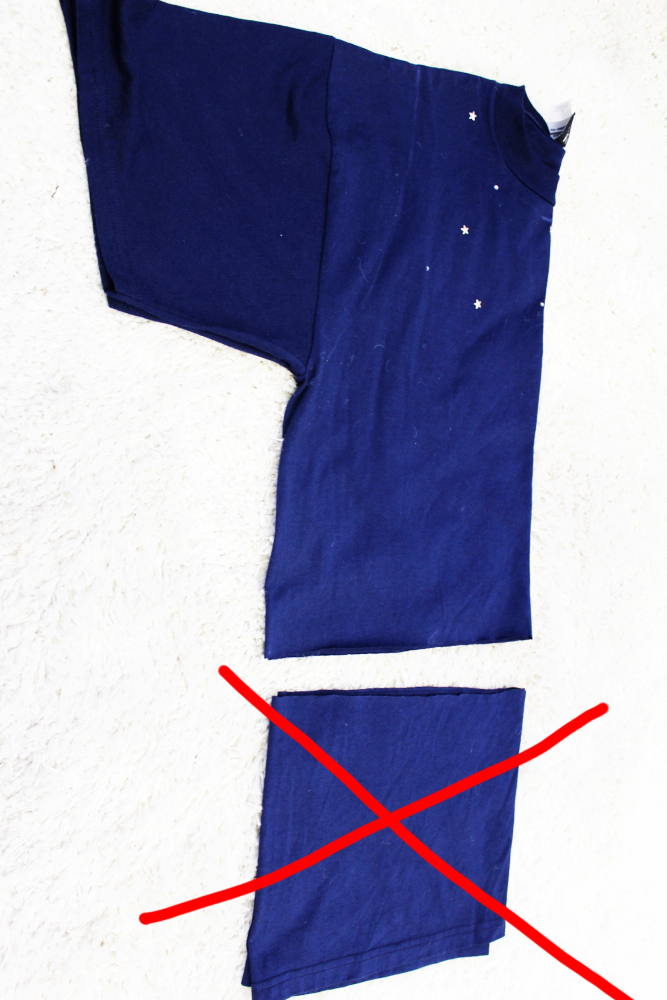
6. Taking your scissors, stick them in-between the fold line made in step 5. Cut along the fold line, creating a new hemline.
7. Using your new armhole guide line, cut along this line with your scissors completely separating the old sleeve and armhole.
8. Using your new neckline guide line, cut along this line with your scissors completely separating the old neckline.

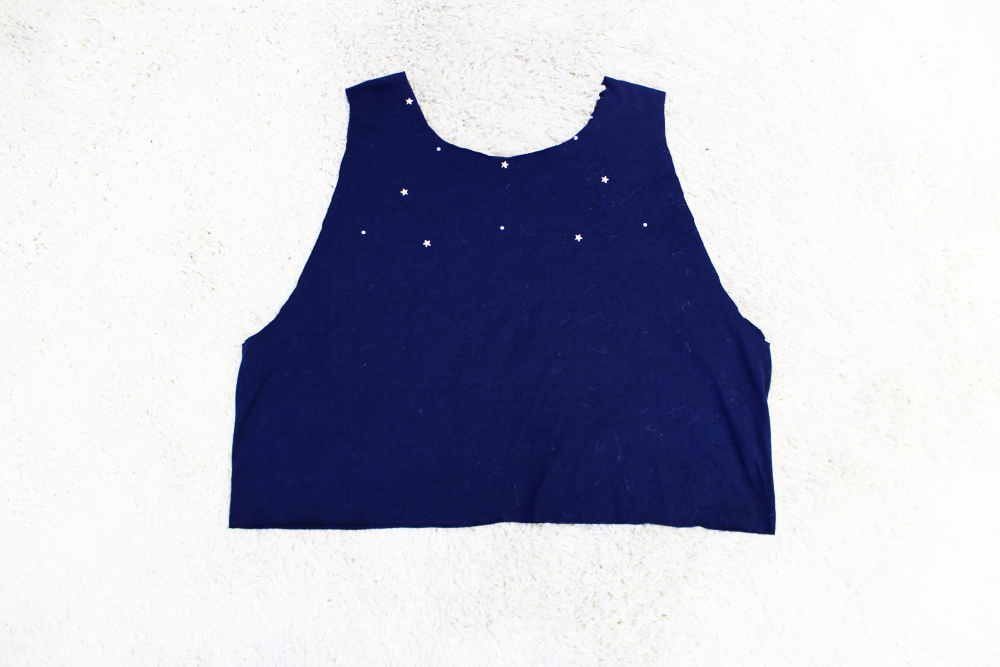
9. Congratulations! You now have completed your Crop Top! Unfold your creation and try it on. Feel free to make any changes to the armholes and neckline once you tried it on – simply use the above steps again!
Enjoy!