
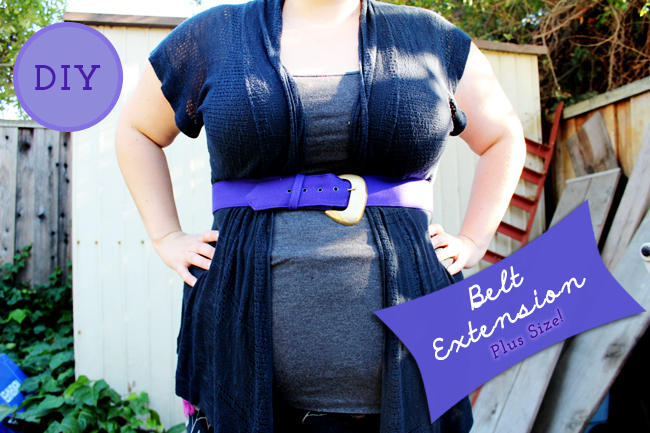
When you’re plus size, it is always a challenge to find nice belts that fit you. This is even truer for vintage belts. Here is a simple DIY for adding an extension to a belt. This is also a great way to add more flexibility to a stiff belt.

Supplies
- Belt
- Elastic (Thisshould be the same width as your belt.)
- Clear Nail Polish(Optional)
- Tape Measure
- Scissors
- Straight Pins (Optional)
- Sewing Machine with Thread Color Choice
- Leather Needle for your Sewing Machine (Most belts are leather or a heavier fabric, so you want a heavier duty needle for your machine.)
1. Measure your waist where you intend to wear you rbelt. This is your “Waist Measurement.”
2. Measure the inside of your belt for it’s current measurement. This is your “Belt Measurement.”
3. Use the following formula and the above to measurements to find how long your belt extension will be.
(Waist Measurement – Belt Measurement) + 1 inch = Belt Extension Length
** Note: 1inch is for seam allowance.
4. Take the above measurement (Belt Extension Length) and measure out this amount on your elastic. Cut elastic at this length.
—> If you have clear nail polish, paint it on the end of the elastic to prevent fraying.
5. Get your belt and fold it in half. This is the center of your belt. This marks where you will cut your belt in half.
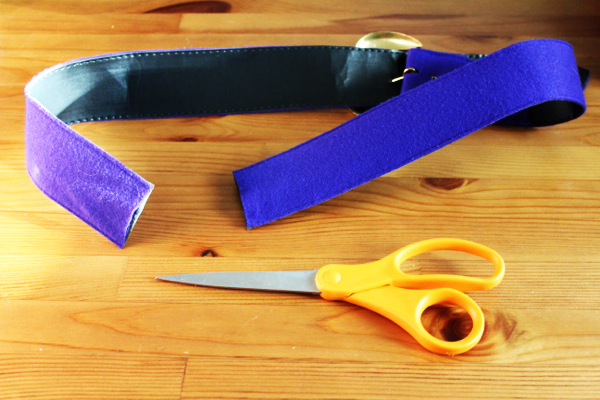
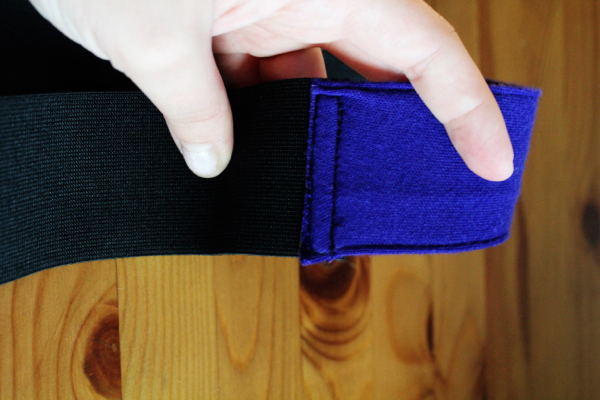
6. Attach each end of the cut belt to the end of elastic with around 1/2 inch seam allowance. Hold it in place with a straight pin,if you are able to. (Belt may be too thick to do this depending on its fabrication.)


7. Top stitch a rectangular shape on seam allowance. Sew multiple times over this sew line for strength. Repeat for second side.

8. Your belt extension is complete. Try on your new belt!